Printable paper tape + watch silhouettes (1:1)
No cloth tape on the desk? Print this sheet at 100% / actual size, cut the strip, and you have a millimetre wrist tape — plus two illustrative watch outlines so you can see why a short lug-to-lug sits inside a ~6.5" wrist and a longer one overhangs. Then type the millimetre number into the fit checker. A ten-minute try-on still wins.
Download
One file, four pages: 1–2 on A4 (Singapore default), 3–4 on US Letter. Do not print all four onto one paper size. The viewer hint is “actual size”; Chrome and many drivers still default to Fit — override that.
Print at 100% — then prove it with a ruler
True 1:1 scale is the product. If the printer “helps” by fitting the page, every millimetre on the tape is a lie and the silhouettes shrink with it.
- Open the PDF. Pick the matching paper: A4 → pages 1–2, or Letter → pages 3–4.
- Print dialog: Scale 100% / Actual size / Custom 100%. Turn off Fit, Shrink to fit, and “fit to printable area.”
- Margins can stay at the printer default — the tape sits inside a ~10 mm inset so typical non-printable edges do not eat the scale.
- On the tape page, measure the 50 mm square with a real ruler. It must read 50.0 mm. The bar under it must read 2.00 in (50.8 mm). The strip itself is a 0–240 mm scale (≈9.45").
- If either check is short or long, the job scaled. Do not use that print. Change the driver setting and reprint.
Chrome: more settings → scale 100, paper A4 or Letter to match the page. Acrobat / Preview: “Actual size,” not “Fit.” Some office printers hide a “fit to page” default under Finishing or Paper — hunt for it.
Maintainers can regenerate and re-check PDF user-space sizes (no printer involved) with python3 scripts/generate_paper_tape.py --check. That confirms the file is 1:1; only a ruler confirms the print.
Cut, fold, measure
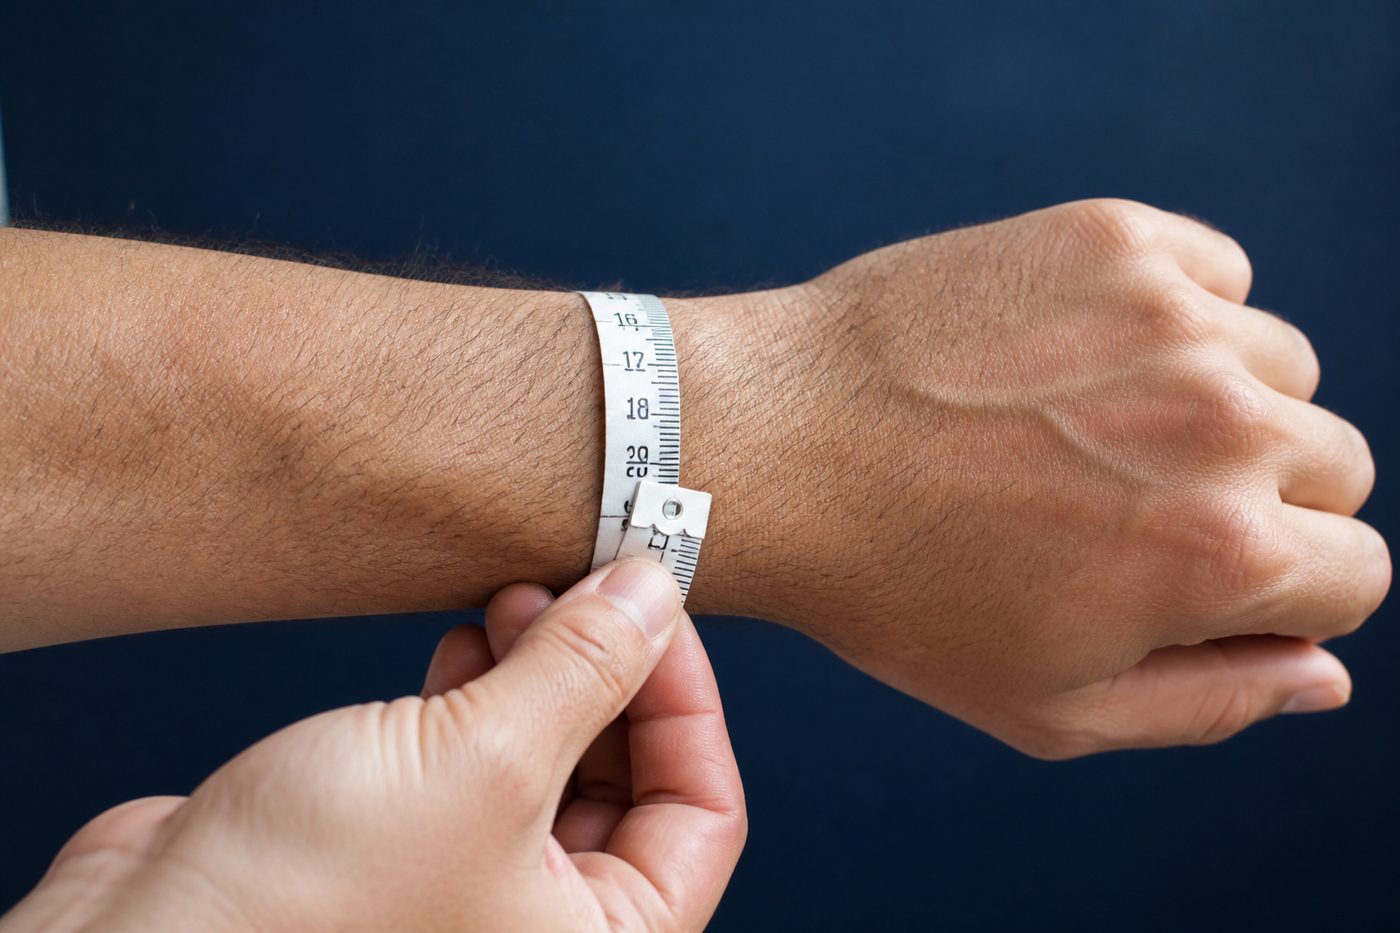
- Cut along the dashed outline. Fold the grey tab so its inner edge is zero.
- Wrap just above the wrist bone — where a watch actually sits. Snug, not compressing skin. A metal tape that cinches will read large; this strip is the method from the sizing guide.
- Read millimetres where the tab meets the scale. Write that number. Spec sheets and the fit checker are metric; converting back and forth invites rounding errors. 165 mm ≈ 6.5". The gold band on the tape is 6–7" — the site’s focus.
- Do it twice: morning, and after a warm afternoon. Singapore humidity swells wrists more than people admit.
Use it with the fit checker
The tape gets you a circumference. The fit checker scores a published lug-to-lug against that wrist. Diameter alone stays incomplete — we do not invent tip-to-tip from Ø.
- Open the fit checker. Enter wrist in millimetres (or inches if you must; mm is cleaner).
- Pick a catalog row or type a product-page L2L. Thickness is optional; ≥13 mm bumps the risk one level (the cuff-trap).
- Read Low / Moderate / High. That is a heuristic, not a boutique tray. Same catalog as a table: watch index.
Same span rule as the calculator
Usable span ≈ (wrist ÷ π) × 0.92. At ~165 mm (~6.5") that is ≈48.3 mm. The green and red bars on the silhouette pages are that bar — not your measured wrist width. L2L ≤ 90% of span is Low; up to 100% is Moderate; past that is High. Full write-up: lug-to-lug guide.
What the silhouettes are (and are not)
Pages 2 and 4 draw two teaching shapes at true size:
- Ø36 / L2L ~44 mm — short-lug class. Typically sits inside the ~6.5" heuristic span.
- Ø39 / L2L ~50 mm — longer-lug class. Overhangs that same span. Same diameter-vs-fit lesson as the homepage diagram.
Hold the sheet over your wrist (the L2L axis runs along the forearm) or cut the outlines. They are illustrative geometry — not a Black Bay 54, not an OP36, not a boutique try-on, not a substitute for the published L2L on the exact reference you will buy. We still will not guess tip-to-tip from a marketing diameter.
Reality check
Soft SGD bands elsewhere on WristFit SG are planning labels, not quotes. Street and AD figures change; confirm at the counter. Geometry on paper cannot see lug curve, end-link gap, or a 14 mm crystal under a shirt cuff. Measure, score, then try on in Singapore when you can. Specs vary by reference and year.